Here are the steps for creating an Exchange 2003 cluster.
Prerequisites:
- Hyper-V
- 5 virtual machines
*4 - 2003 Enterprise Servers (DC1, NAT, Clusternode1, Clusternode2)
*1 - freenas machine (freenas)
- Create DC machine:
*Set:
- Computer name: DC1
- Domain: san.local (just set)
- Workgroup: SAN
- Primary DNS suffix: san.local
- Rename Local Area Network to LAN
- LAN Properties:
o IP Address: 172.30.30.1
o Subnet Mask: 255.255.255.0
o Default Gateway: 172.30.30.200
o DNS: 172.30.30.1
*Restart OS.
*Add ‘DNS Server’ role.
2.
Created
NAT machine:
*Add Network Adapter.
*Set:
-
Computer name: NAT
-
Domain: san.local (just set)
-
Workgroup: SAN
-
Primary DNS suffix: san.local
-
Rename Network Adapters: one WAN and one LAN
-
LAN Properties:
o
IP Address: 172.30.30.200
o
Subnet Mask: 255.255.255.0
o
Default Gateway: . . . .
o
DNS: 172.30.30.1
-
WAN Properties:
o
IP Address: 172.20.20.245
o
Subnet Mask: 255.255.255.0
o
Default Gateway: 172.20.20.1
o
DNS: 172.30.30.1
*Restart OS.
*Install ‘Remote Access / VPN server’ role.
3.
Back to DC1
machine:
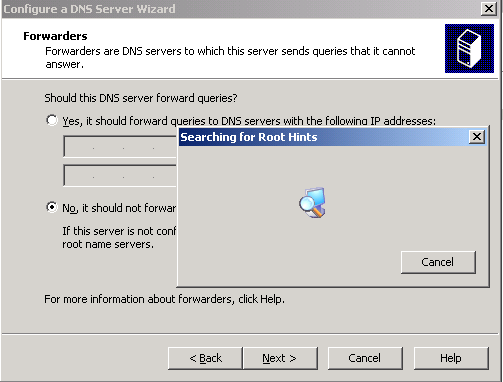
*Configure forwarders:
*Install AD on DC1:
*Create ‘test’ user in AD for cluster (copy Administrator account):
*Install Win 2003 Support Tools:
*Run dcdiag:
4.
Join NAT machine
to Domain:
*Uncheck IE Security Configuration:
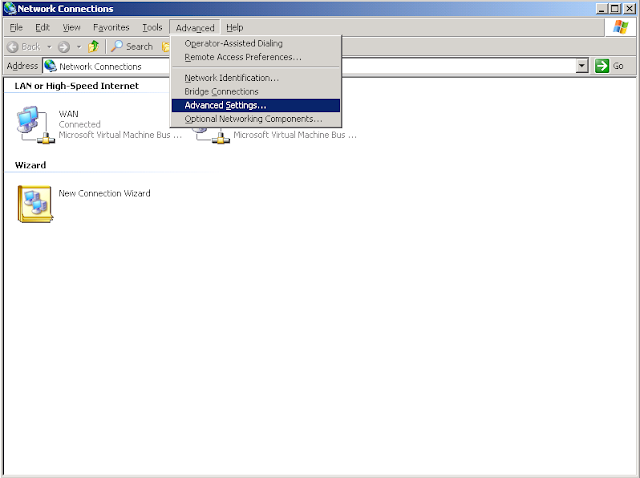
*Set bindings
* Join NAT machine to Domain:
*Restart OS.
*Log on with san\test.
5.
Go to DC1 machine:
*Open DNS Server -> Forward Lookup Zones -> san.local ->
Properties.
*Open DNS Server -> Reverse Lookup Zones -> 172.30.30.x Subnet
-> Properties.
*In san.local zone delete nat host with outside of 172.30.30.x IP.
*Run netdiag:
6.
Create Cluster
Node1 machine:
*Add Network Adapter.
*Rename Network Adapters: one LAN and one ClusterHB
-
ClusterHB Properties:
o
IP Address: 172.30.0.1
o
Subnet Mask: 255.255.255.252
-
LAN Properties:
o
IP Address: 172.30.30.2
o
Subnet Mask: 255.255.255.0
o
Default Gateway: 172.30.30.200
o
DNS: 172.30.30.1
*Set Computer name: Clusternode1
*Put in san.local domain.
*Uncheck IE Security Configuration:
7.
Create Cluster
Node 2 machine:
*Add Network Adapter.
*Rename Network Adapters: one LAN and one ClusterHB
-
ClusterHB Properties:
o
IP Address: 172.30.0.2
o
Subnet Mask: 255.255.255.252
-
LAN Properties:
o
IP Address: 172.30.30.3
o
Subnet Mask: 255.255.255.0
o
Default Gateway: 172.30.30.200
o
DNS: 172.30.30.1
*Set Computer name: Clusternode2
*Put in san.local domain.
*Uncheck IE Security Configuration:
*Set bindings
8.
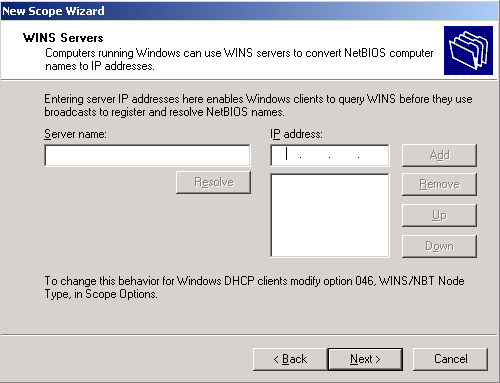
Set DHCP server
on DC1:
10.
On Clusternode1
download Windows 2003 iscsi.
*Install Windows 2003 ISCSI.
*Run ISCSI Initiator
*Open Computer Management
*Rename Partitions
*Install Network DTC, ASP .NET, SMTP and NNTP (for Exchange)
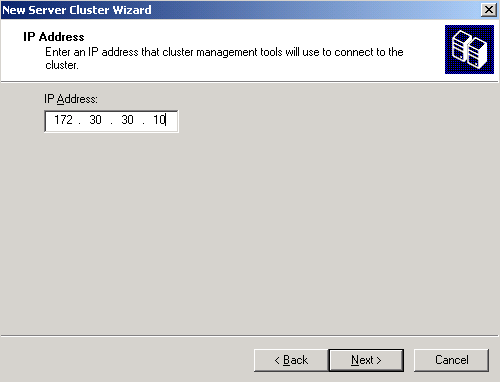
*Create cluster
*Manage Groups
Drag and drop Disk H:, Disk I: and Disk J: into EVS01.
Delete other groups (0, 3, 4).
Drag and drop Disk G: into FileServer and rename it to FileServer.
Rename disks in EVS01.
11.
On Clusternode2
download Windows 2003 iscsi (same as step 10.
For Clusternode1).
*Install Windows 2003 ISCSI.
*Run ISCSI Initiator
After preparing the targets go to Bound Volumes/Devices and click
Bind All.
*Install Network DTC, ASP .NET, SMTP and NNTP (for Exchange)
*Join Clusternode2 to the cluster.
*Configure FileServer service.
Rename ‘FileServer’ to ‘FileServer G:’.
*Bring the new resources online.
*Check share is accessible.
*Create a new folder ‘test’ to check that the share is accessible from both nodes.
*Move FileServer Group.
*Check
share is still accessible.
*Move all other
Groups (MSDTC, Cluster Group and EVS01).
=> Move
should be successful.
*Move all
Groups back to CLUSTERNODE1.
12.
Install Exchange
on Clusternode1.
*Run Exchange 2003 installer.
*Check all up to step 5(already done) and Run ForestPrep.
*Run DomainPrep.
*Wait until it completes and click
Finish.
1.
Install Exchange
on Clusternode2 (similar to step 12. ).
*Run Exchange 2003 installer.
*Run Setup
directly (you can skip all other checks).
*Wait
until it completes and click Finish.
*Take all
resources in EVS01 online and create another resource:
*Bring all resources online.
*Move group to Clusternode2.
*Move group back to Clusternode1.
15.
Test the failover
with an Outlook Client.
Useful link:
http://vimeo.com/4171569


No comments:
Post a Comment